Skip to Main Content
Mobile Menu Trigger
Mobile Search Trigger
Recipes
Recipe Index
All Recipes
Appetizers
Breakfast
Brunch
Desserts
Drinks
Main Dishes
Side Dishes
Recipes By Ingredients
Lifestyle
Home & Garden
Travel
Bits & Pieces
About
About
Contact
Subscribe
Recipes
Recipe Index
All Recipes
Appetizers
Breakfast
Brunch
Desserts
Drinks
Main Dishes
Side Dishes
Recipes By Ingredients
Lifestyle
Home & Garden
Travel
Bits & Pieces
About
About
Contact
Subscribe
Search
Home
»
Home & Garden
»
Art Projects
Art Projects
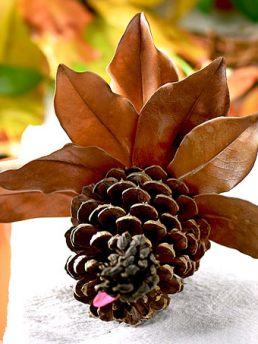
Thanksgiving Pine Cone Turkey Craft
Easy Googly Eyes Pumpkin
A homemade gift idea.
The Family Tablecloth
A gift. A blessing.
A Friendly Gingerbread Challenge
Fancy Coloring Art Project
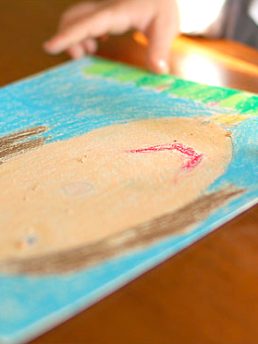
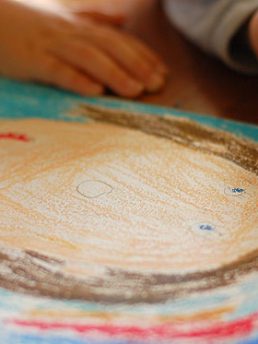
Create Your Own Masterpiece