Skip to Main Content
Mobile Menu Trigger
Mobile Search Trigger
Recipes
Recipe Index
All Recipes
Appetizers
Breakfast
Brunch
Desserts
Drinks
Main Dishes
Side Dishes
Recipes By Ingredients
Lifestyle
Home & Garden
Travel
Bits & Pieces
About
About
Contact
Subscribe
Recipes
Recipe Index
All Recipes
Appetizers
Breakfast
Brunch
Desserts
Drinks
Main Dishes
Side Dishes
Recipes By Ingredients
Lifestyle
Home & Garden
Travel
Bits & Pieces
About
About
Contact
Subscribe
Search
Home
»
Recipes
»
Main Dishes
Main Dishes
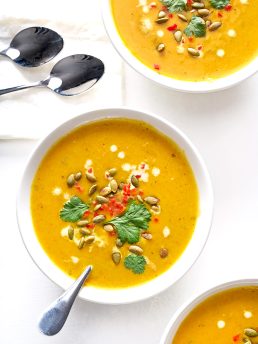
Roasted Butternut Squash Soup Recipe
Perfect Lasagna Recipe
Roasted Garlic Lemon Chicken and Potatoes Recipe
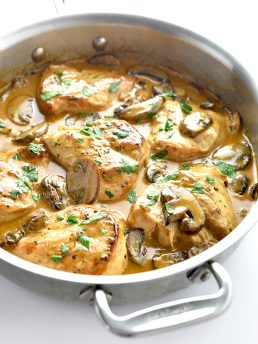
Chicken Breasts with Mushroom Sauce Recipe
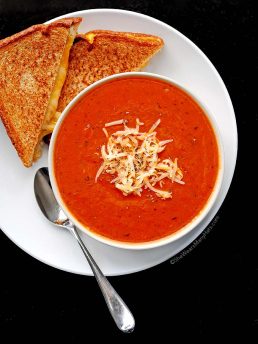
Quick and Easy Tomato Soup Recipe
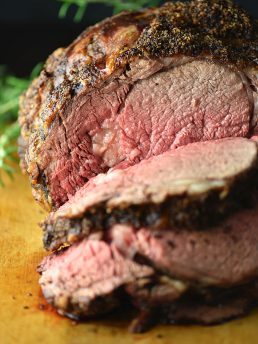
Prime Rib Roast Recipe
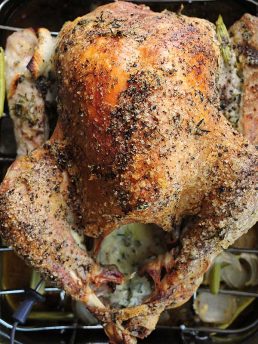
Mayonnaise Roasted Turkey Recipe
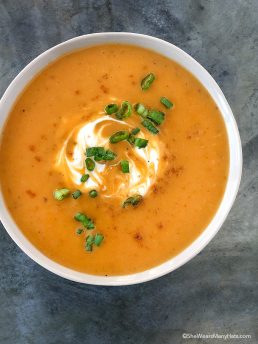
Creamy Sweet Potato Soup Recipe
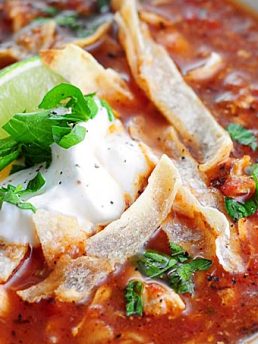
Easy Chicken Tortilla Soup Recipe
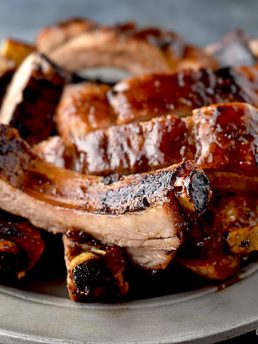
Glazed Baby Back Ribs Recipe
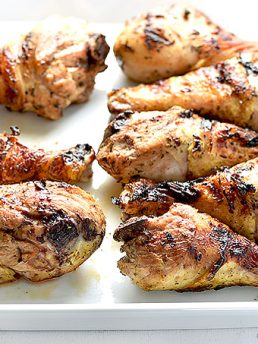
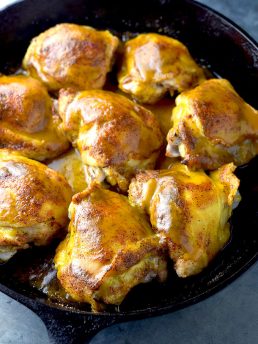
Buttermilk Chicken Recipe
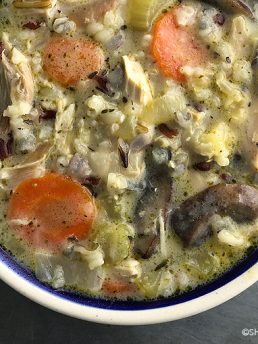
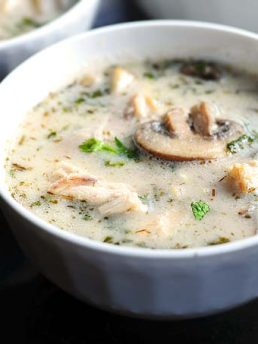
Creamy Chicken Wild Rice Soup Recipe
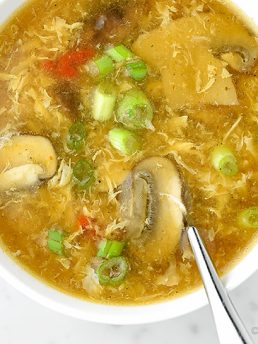
Easy Hot and Sour Soup Recipe
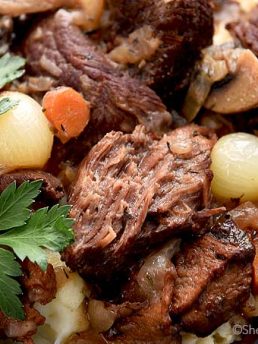
Beef Bourguignon Recipe
Easy Stew Beef and Rice Recipe
Coconut Chicken Soup Recipe
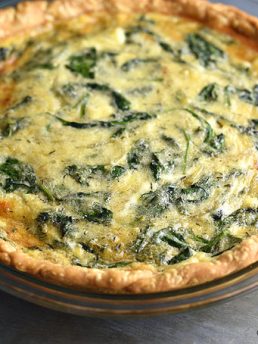
Sautéed Onion Gruyere Spinach Quiche Recipe
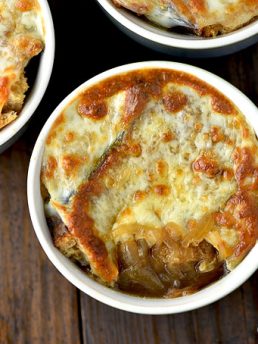
Easy French Onion Soup Recipe
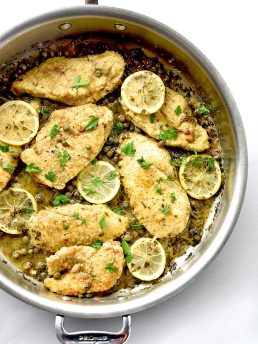
Chicken Piccata Recipe
Grilled Honey Soy Glazed Pork Tenderloin Recipe
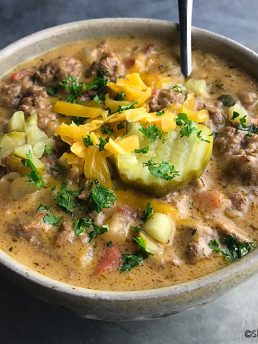
Cheeseburger Soup Recipe
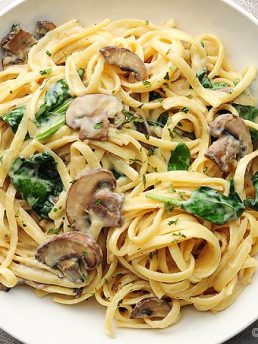
Mushroom Florentine Pasta Recipe
Honey Mustard Baked Chicken Thighs Recipe
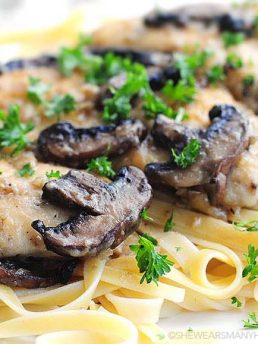
Chicken Marsala Recipe
More Posts:
1
2
3
4
5
6
…
9
Next »