Skip to Main Content
Mobile Menu Trigger
Mobile Search Trigger
Recipes
Recipe Index
All Recipes
Appetizers
Breakfast
Brunch
Desserts
Drinks
Main Dishes
Side Dishes
Recipes By Ingredients
Lifestyle
Home & Garden
Travel
Bits & Pieces
About
About
Contact
Subscribe
Recipes
Recipe Index
All Recipes
Appetizers
Breakfast
Brunch
Desserts
Drinks
Main Dishes
Side Dishes
Recipes By Ingredients
Lifestyle
Home & Garden
Travel
Bits & Pieces
About
About
Contact
Subscribe
Search
Home
»
Recipes
»
Side Dishes
Side Dishes
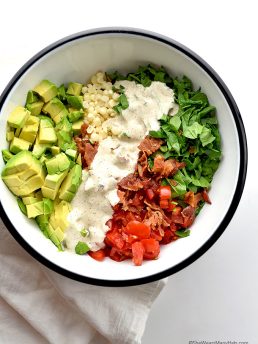
Avocado Bacon Tomato Spinach Corn Salad
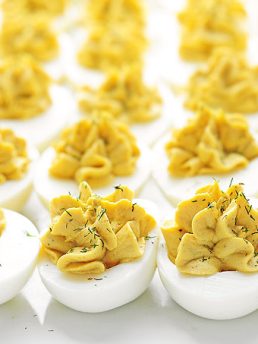
Perfect Deviled Eggs Recipe
Easy Homemade Cranberry Sauce Recipe
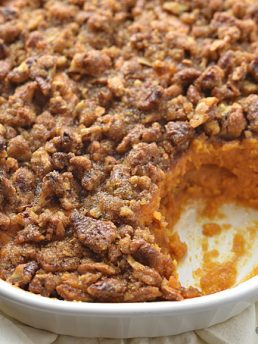
Sweet Potato Casserole Recipe with Pecan Topping
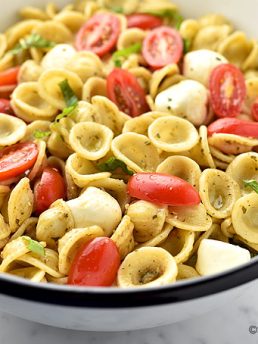
Easy Caprese Pasta Salad Recipe
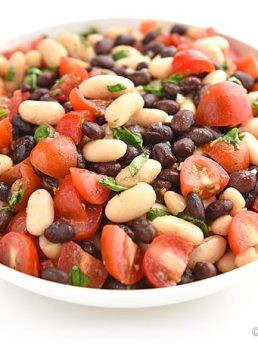
White and Black Bean Salad
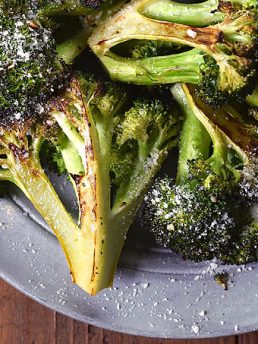
Roasted Broccoli Recipe
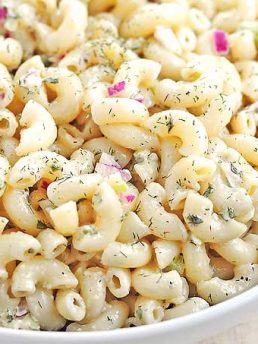
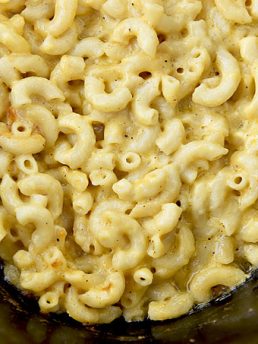
Classic Macaroni Salad Recipe
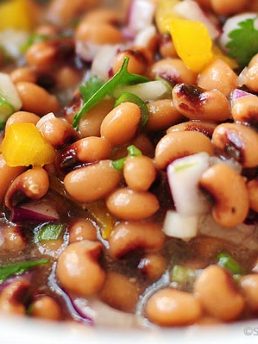
Blackeye Pea Salad Recipe
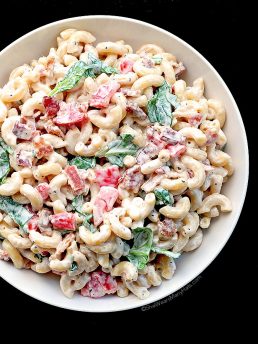
BLT Macaroni Salad Recipe
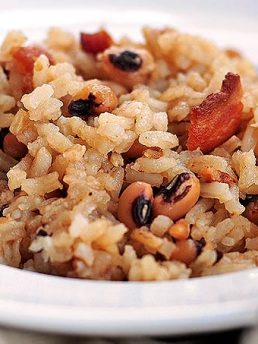
Traditional Southern Hoppin John Recipe
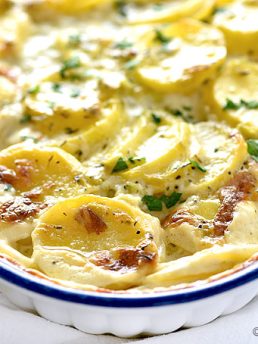
Scalloped Potatoes with Leeks and Thyme
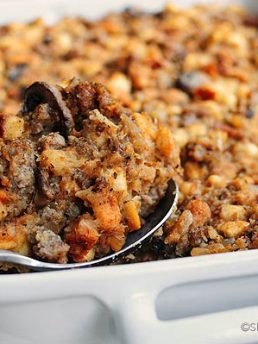
Sausage and Mushroom Stuffing Recipe
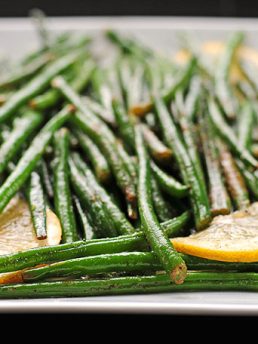
Easy Lemon Garlic Green Beans Recipe
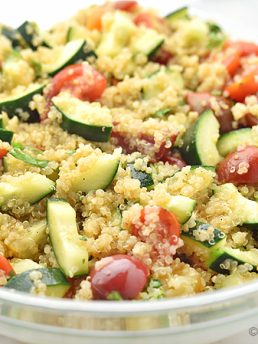
Cucumber and Tomato Quinoa Salad Recipe
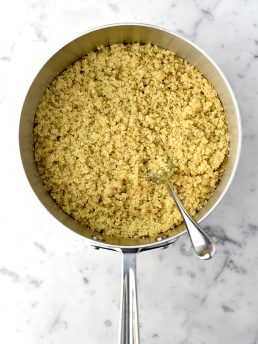
How to Cook Quinoa
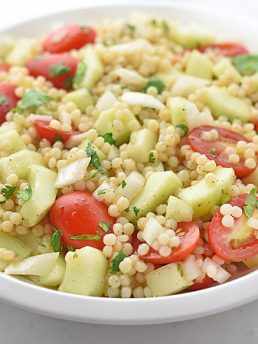
Easy Cucumber Tomato Couscous Recipe
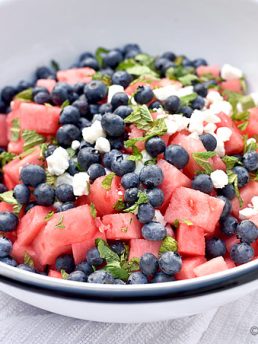
Blueberry Watermelon Feta Mint Salad Recipe
Spicy Ginger Carrot Salad Recipe
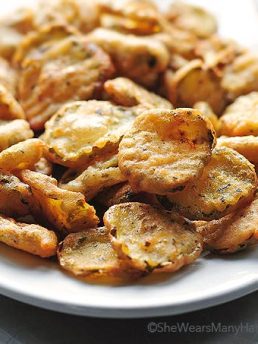
Fried Pickles Recipe
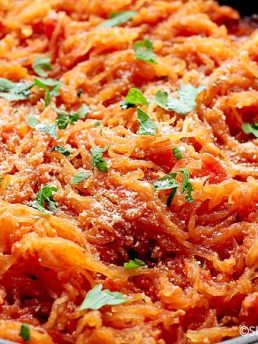
Marinara Spaghetti Squash Recipe
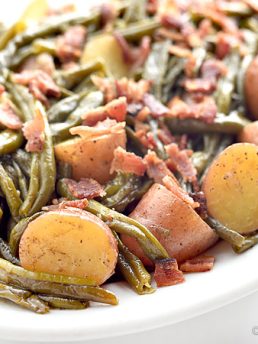
Southern Green Beans and Potatoes with Vidalia Onion and Bacon Recipe
Cheesy Hash Brown Casserole Recipe
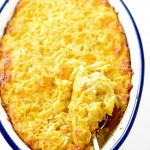
Slow Cooker Mac and Cheese Recipe
More Posts:
1
2
3
4
Next »