Skip to Main Content
Mobile Menu Trigger
Mobile Search Trigger
Recipes
Recipe Index
All Recipes
Appetizers
Breakfast
Brunch
Desserts
Drinks
Main Dishes
Side Dishes
Recipes By Ingredients
Lifestyle
Home & Garden
Travel
Bits & Pieces
About
About
Contact
Subscribe
Recipes
Recipe Index
All Recipes
Appetizers
Breakfast
Brunch
Desserts
Drinks
Main Dishes
Side Dishes
Recipes By Ingredients
Lifestyle
Home & Garden
Travel
Bits & Pieces
About
About
Contact
Subscribe
Search
Home
»
appetizer
appetizer
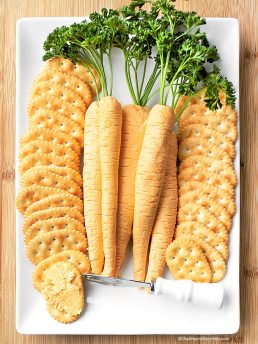
Easy Cheese Carrots Recipe
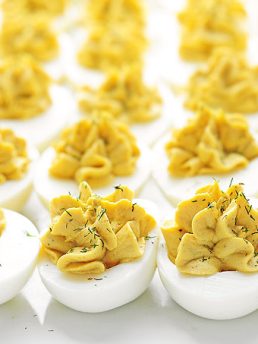
Perfect Deviled Eggs Recipe
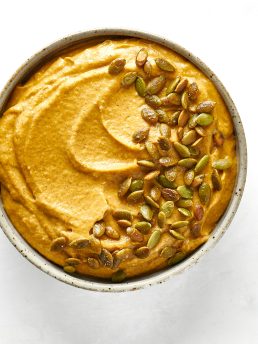
Pumpkin Dip Recipe
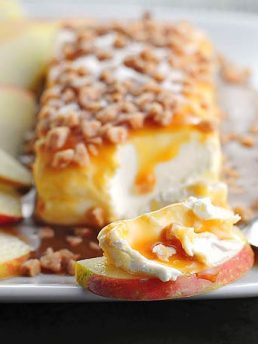
Caramel Apple Cream Cheese Spread Recipe
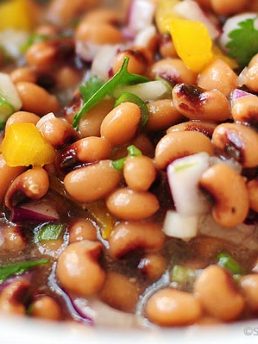
Blackeye Pea Salad Recipe
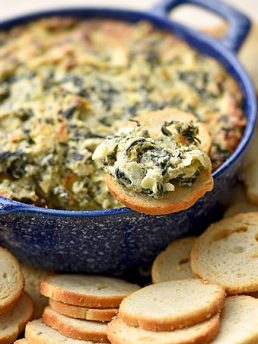
Spinach Artichoke Dip Recipe
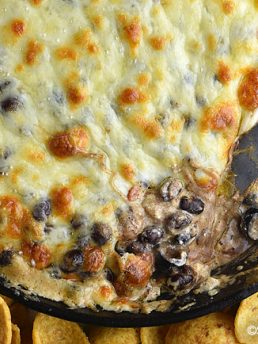
Hot Chili Cheese Dip Recipe
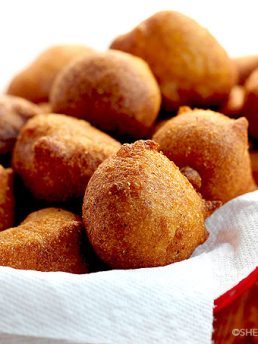
Beer Batter Hush Puppies Recipe
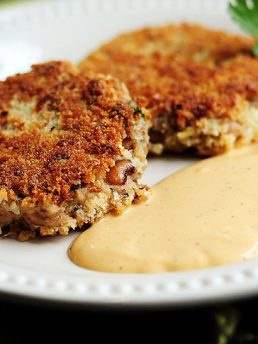
Black-Eyed Pea Cakes Recipe
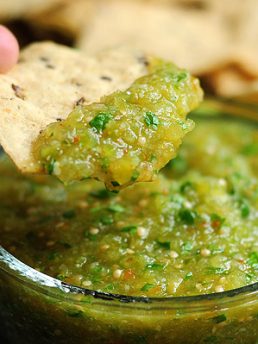
Tomatillo Salsa Verde Recipe
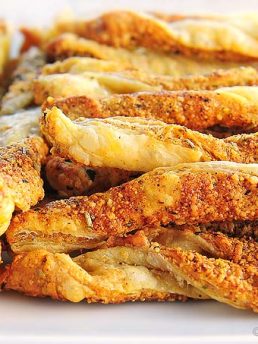
Smoky Spicy Cheese Straws Recipe
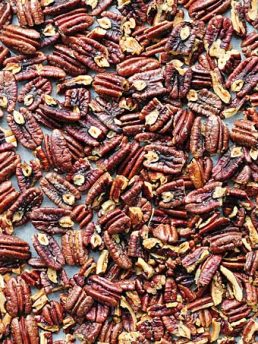
Easy Roasted Pecans Recipe
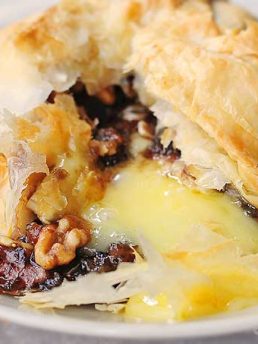
Phyllo Baked Brie with Figs and Walnuts Recipe
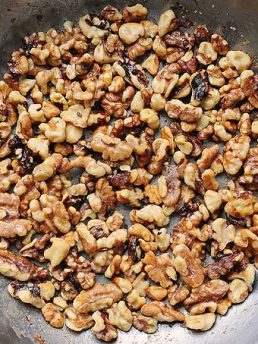
How to Toast Nuts Recipe
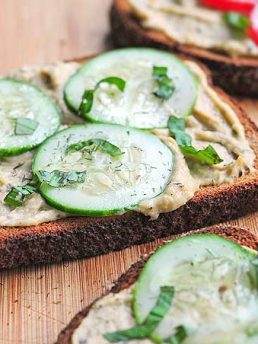
Easy Tomato Cucumber Hummus Snack
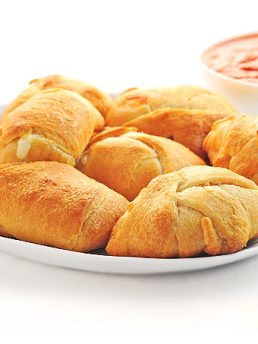
Easy Cheesy Mozzarella Bites Recipe
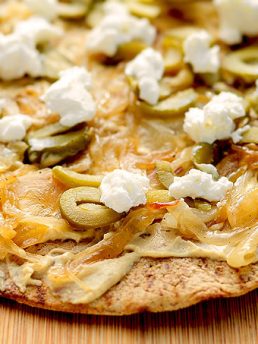
Hummus Olive Goat Cheese Flatbread Recipe
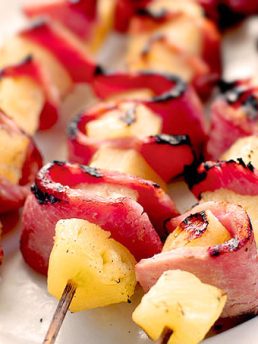
Grilled Pineapple Ham Kabobs Recipe
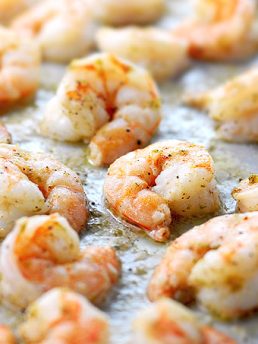
Easy Ginger Lime Roasted Shrimp Recipe
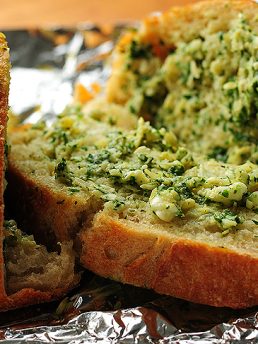
Artichoke Feta Garlic Bread from Tasty Kitchen
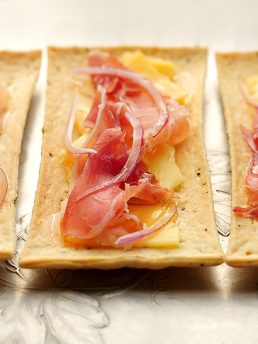
Honey Prosciutto Appetizer Recipe
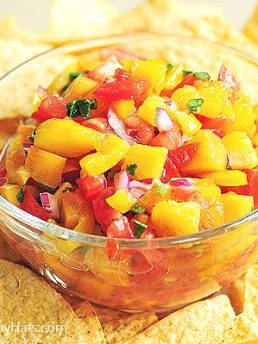
Peach Salsa Recipe
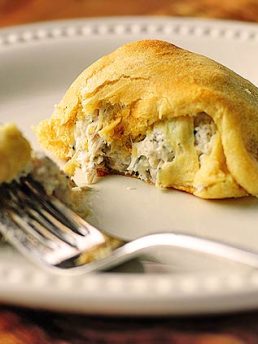
Turkey Pockets Recipe
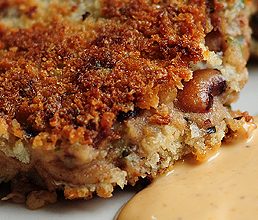
Black-Eyed Pea Cake Redux
More Posts:
1
2
Next »