Skip to Main Content
Mobile Menu Trigger
Mobile Search Trigger
Recipes
Recipe Index
All Recipes
Appetizers
Breakfast
Brunch
Desserts
Drinks
Main Dishes
Side Dishes
Recipes By Ingredients
Lifestyle
Home & Garden
Travel
Bits & Pieces
About
About
Contact
Subscribe
Recipes
Recipe Index
All Recipes
Appetizers
Breakfast
Brunch
Desserts
Drinks
Main Dishes
Side Dishes
Recipes By Ingredients
Lifestyle
Home & Garden
Travel
Bits & Pieces
About
About
Contact
Subscribe
Search
Home
»
dessert
dessert
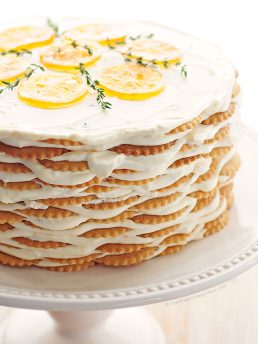
No-Bake Meyer Lemon Thyme Icebox Cake Recipe
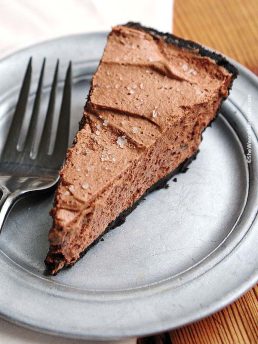
Baileys Salted Caramel Chocolate Pie Recipe
Chocolate Peanut Butter Footballs Recipe
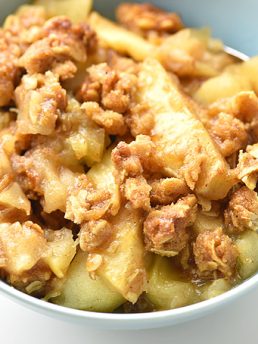
Cranberry Apple Crisp Recipe
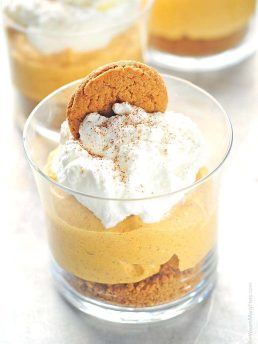
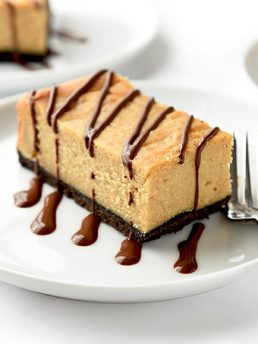
Easy No Bake Pumpkin Cheesecake Recipe
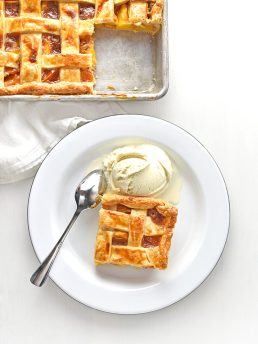
Peach Slab Pie Recipe
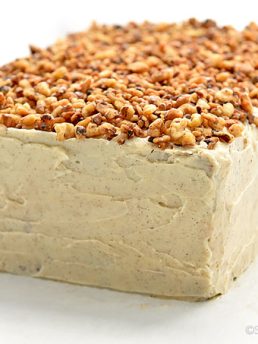
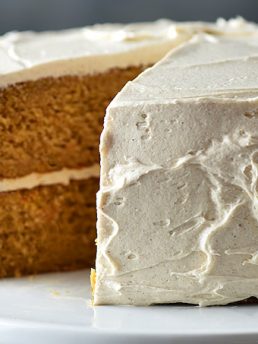
Carrot Cake Recipe
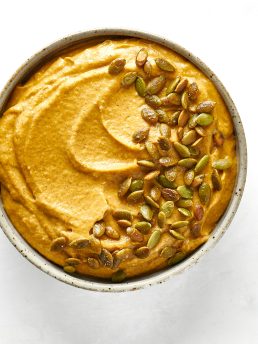
Pumpkin Dip Recipe
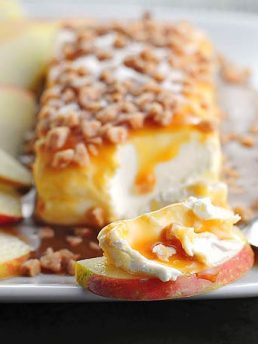
Caramel Apple Cream Cheese Spread Recipe
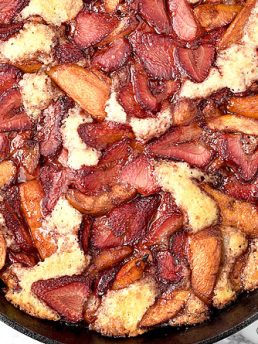
Balsamic Roasted Fruit Cobbler Recipe
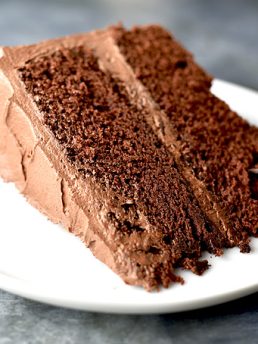
Perfect Chocolate Cake Recipe
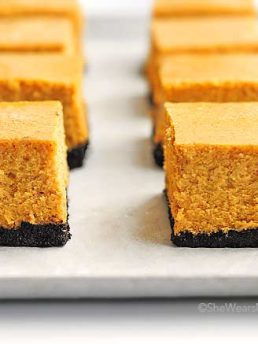
Pumpkin Cheesecake Bars Recipe
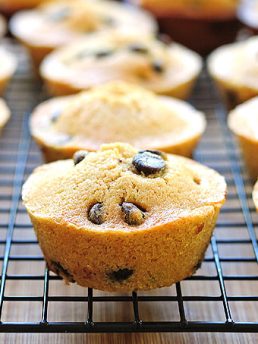
Chocolate Chip Muffins Recipe
Apple Crisp Recipe
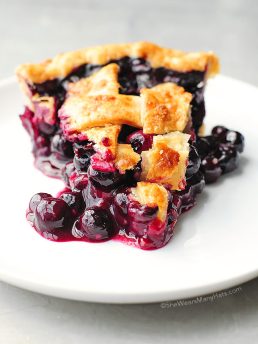
Easy Blueberry Pie Recipe
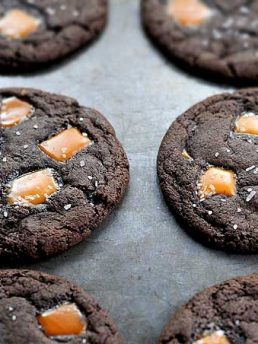
Dark Chocolate Salted Caramel Cookies Recipe
Chocolate Peanut Butter Cheesecake Bars Recipe
Chocolate Peanut Butter Balls
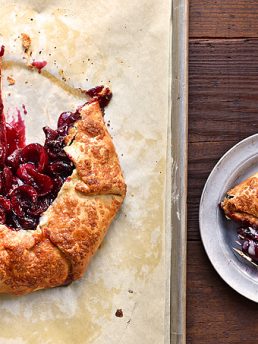
Rustic Cherry Galette Recipe
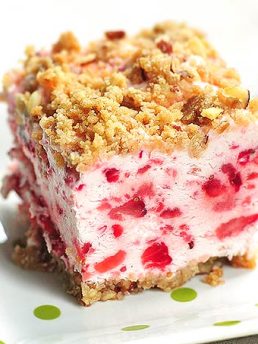
Frozen Strawberry Squares Recipe
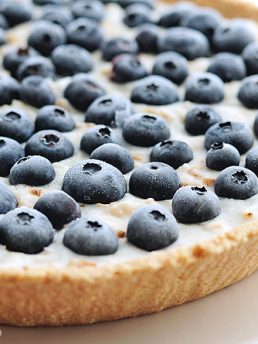
Frozen Blueberry Coconut Yogurt Pie Recipe
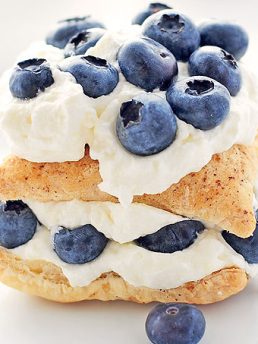
Easy Blueberry Lemon Napoleon Dessert Recipe
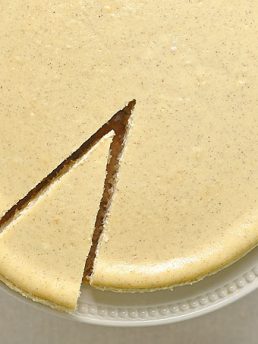
Vanilla Cheesecake Recipe
Southern Sweet Potato Cake Recipe
More Posts:
1
2
3
4
5
6
7
Next »