Skip to Main Content
Mobile Menu Trigger
Mobile Search Trigger
Recipes
Recipe Index
All Recipes
Appetizers
Breakfast
Brunch
Desserts
Drinks
Main Dishes
Side Dishes
Recipes By Ingredients
Lifestyle
Home & Garden
Travel
Bits & Pieces
About
About
Contact
Subscribe
Recipes
Recipe Index
All Recipes
Appetizers
Breakfast
Brunch
Desserts
Drinks
Main Dishes
Side Dishes
Recipes By Ingredients
Lifestyle
Home & Garden
Travel
Bits & Pieces
About
About
Contact
Subscribe
Search
Home
»
dip
dip
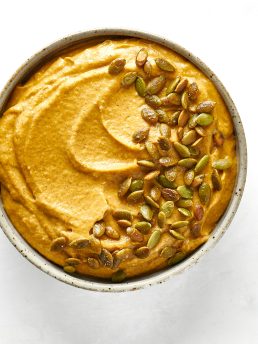
Pumpkin Dip Recipe
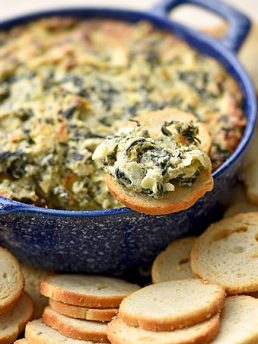
Spinach Artichoke Dip Recipe
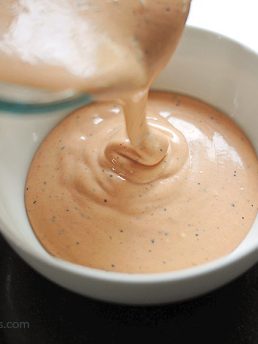
Comeback Sauce Recipe
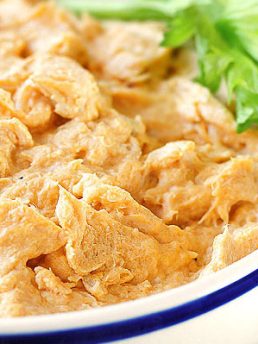
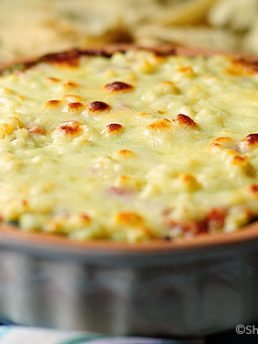
Buffalo Chicken Dip Recipe
Warm Layered Black Bean Dip
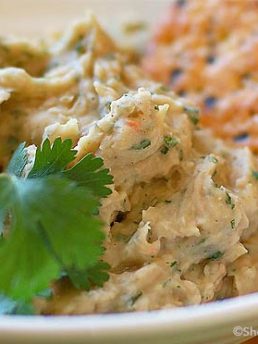
White Bean Spread with Roasted Garlic
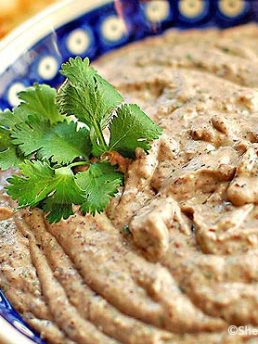
The Bodacious Bean/Week 2- Black Bean Hummus Recipe
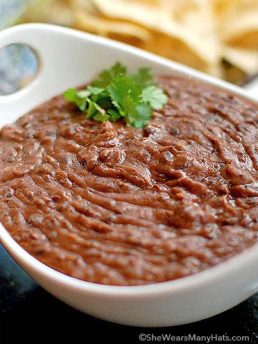
Easy Black Bean Dip Recipe